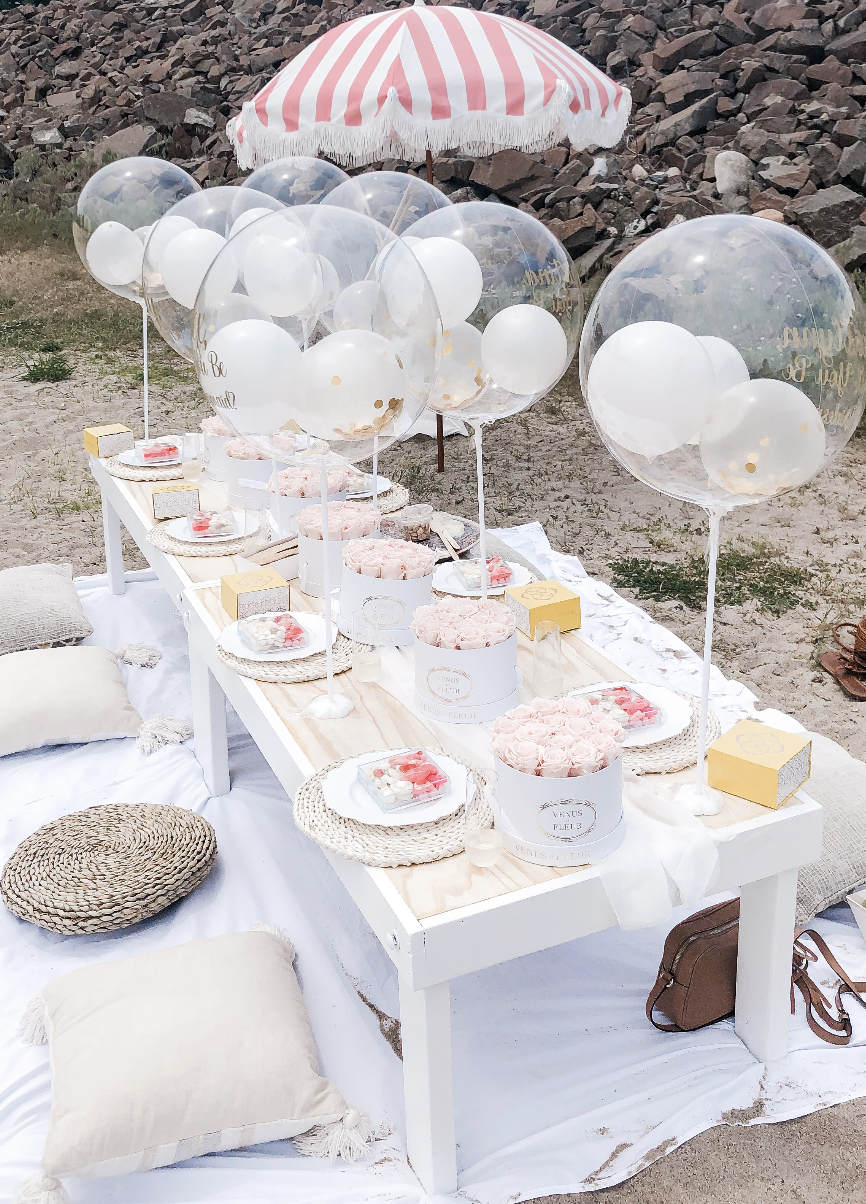
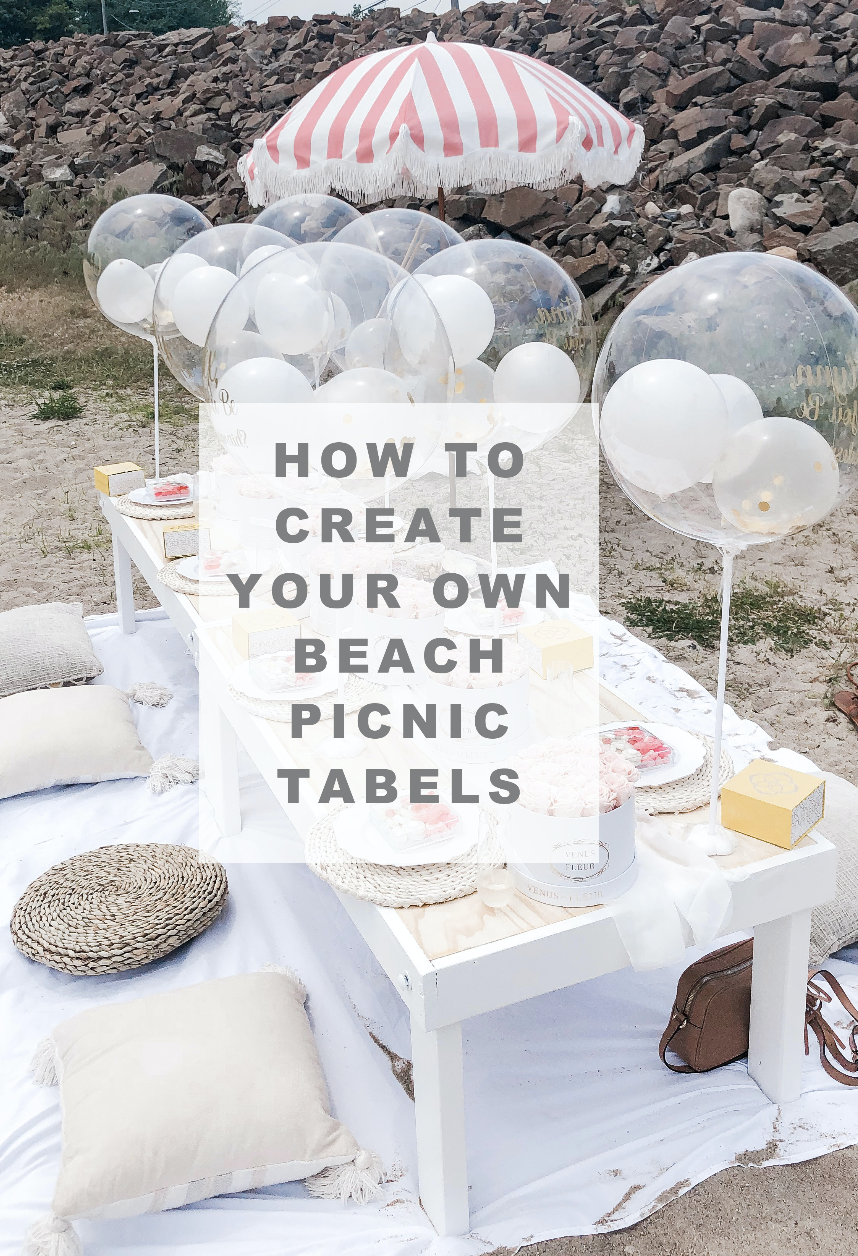
If you are on Instagram you might have seen pretty beach picnics trending on Instagram. It seems like it started in California and now these elaborate picnic’s have gone viral and are popping up everywhere. Well it doesn’t seem like it has hit NY yet so I decided to make them myself for my Bridesmaids proposal. See below on how I made them.
I saw a few different beach picnic tables on Pinterest but no directions on how to make them so I showed my brother what I wanted and he said he could easily make them. This is what I bought
-
- White paint I used trim paint since my dad had it
- Painters tape
- 3/4″ x 2′ x 4′ AC radiant pine plywood
- Need two for 2 tables
- 2″ x 4″ x 3 foot lumber this is for the legs
- We cut outs down to 17″ so needed 4 pieces of this for 2 tables.
- 2″ x 4″ x 8 feet for the sides of the table
- We bought 4 of these.
- 3/8″ x 3-1/2″ galvanized bolt
- They sell these individual in store. We needed 8
- 3/8 ” flat washer
- Sell these in a pack of 25
- 3/8″ everbilt
- We needed 8 of these
Another option if you don’t want to make wooden legs is to just buy the pine plywood and the sides of the table and then buy collapsable legs off of amazon. Here is one that looks great.
Now to building
We starting with the pine plywood and the 2×4’s and measured each side so that we could essentially put a border around the table. Once the cuts were made we started with one of the long sides and just nailed it in. Then moved to the short side nailed it in as well as nailed it into the other piece and continued until we had a full border. It almost looked like we were making corn hole. Like the below!
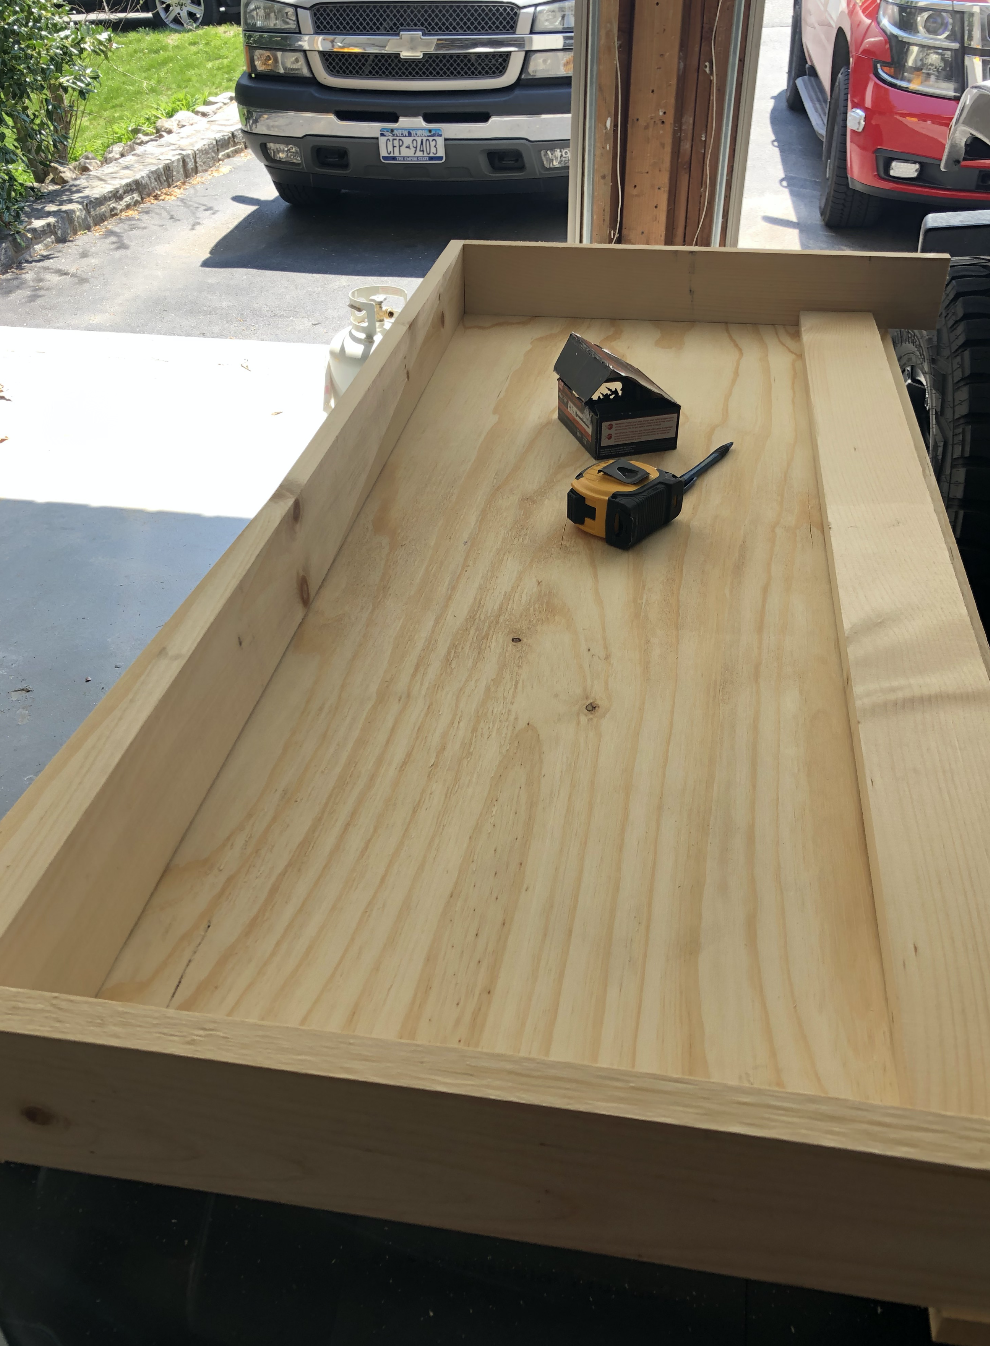
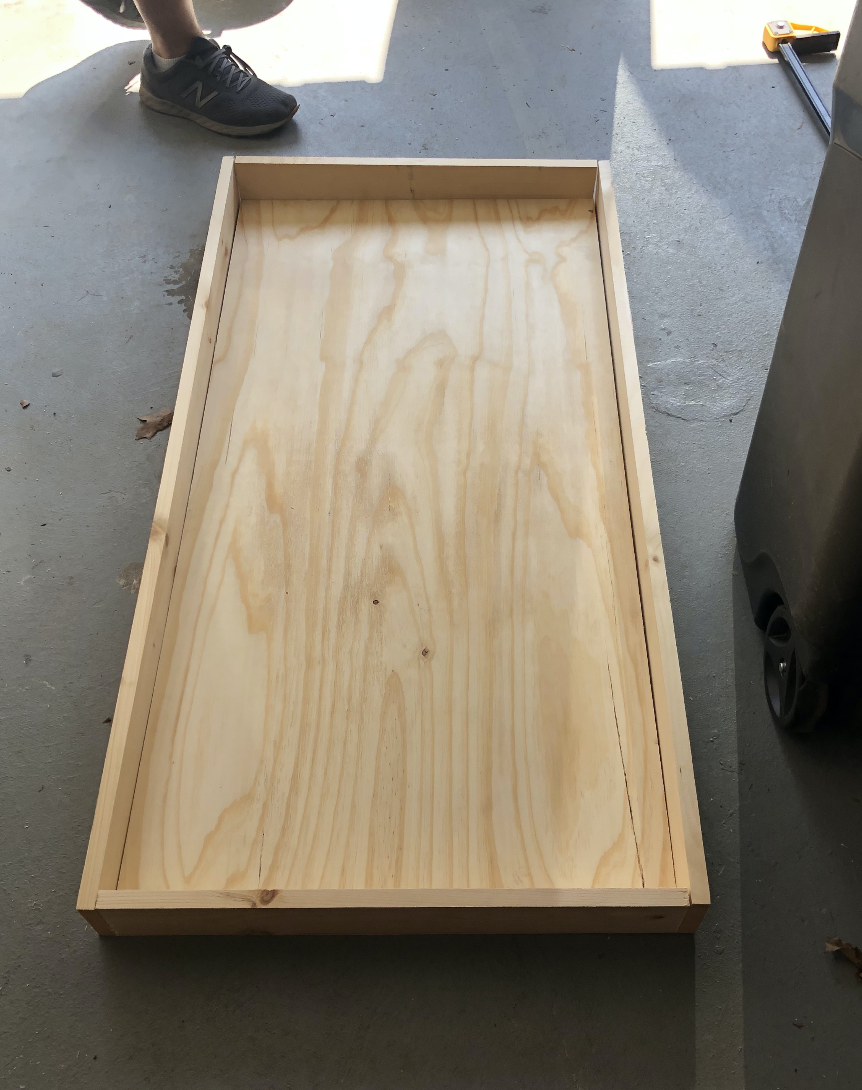
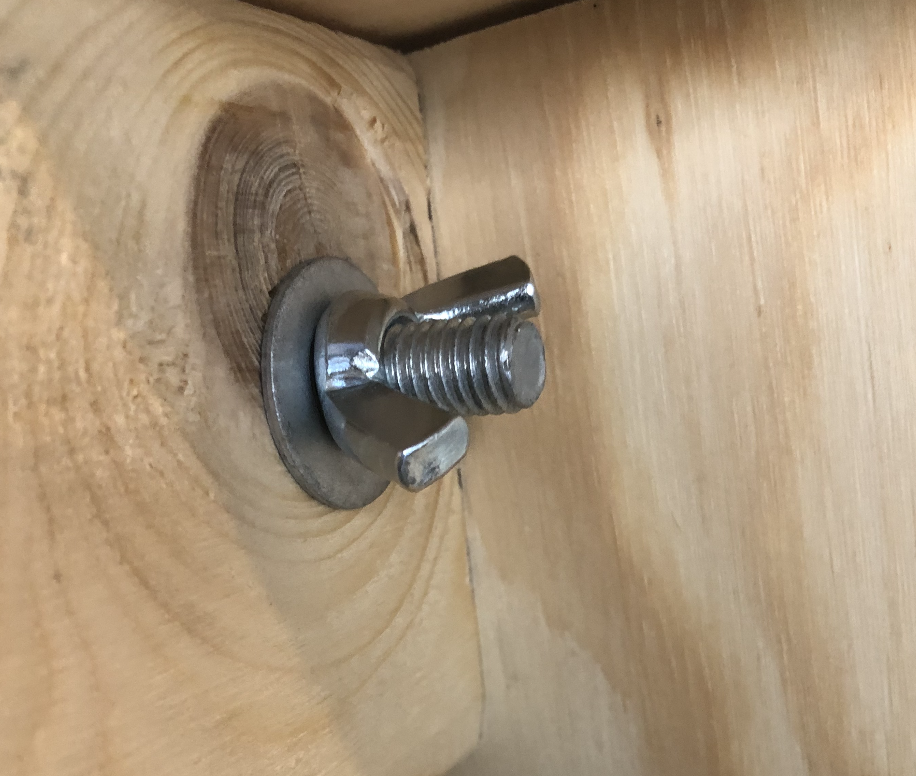
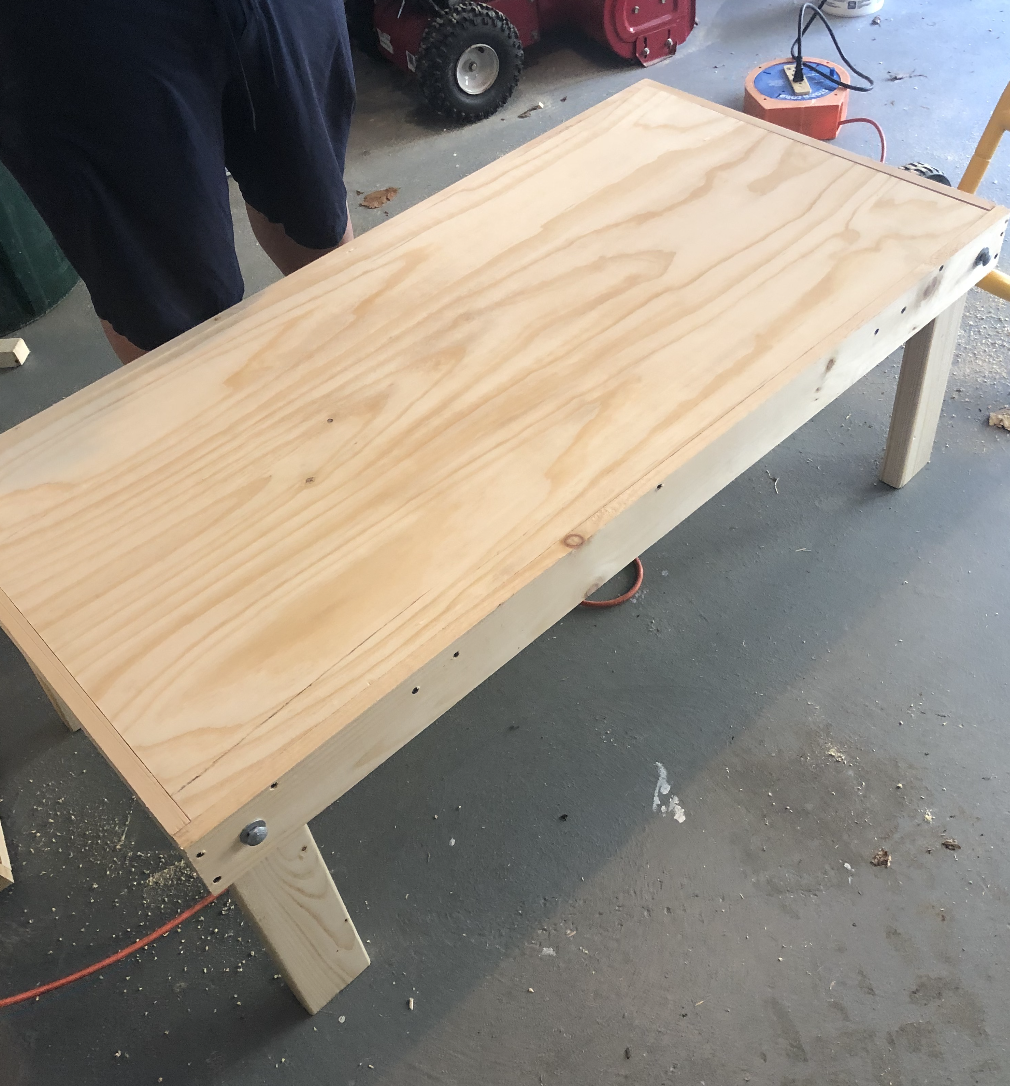
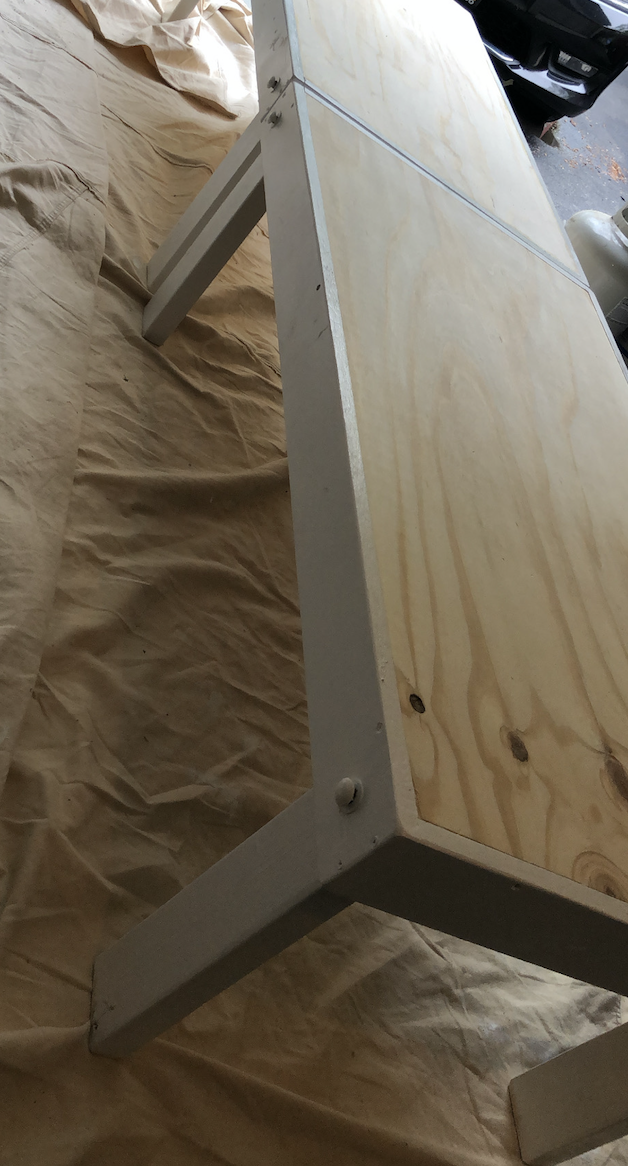
After this we sanded down each side to make sure no one would get splinters. Then we cut down the other 2×4’s to 17 inches each for the legs. We cut 8 legs. My original vision was for the legs to be detachable which is why we put these removable bolts on them. The bolts ended up being harder than to get on and off than we thought so we still used them but I haven’t taken them off yet. If you don’t care if they are removable then you can totally just nail in the legs. Or you can buy the collapsable legs off of Amazon. So once we attached the legs with the bolts we took the sander again and sanded down each leg until it was smooth. We noted there were a few wood cracks or spaces in some parts of the table so we did end up using wood glue there.
THE FINAL STEP
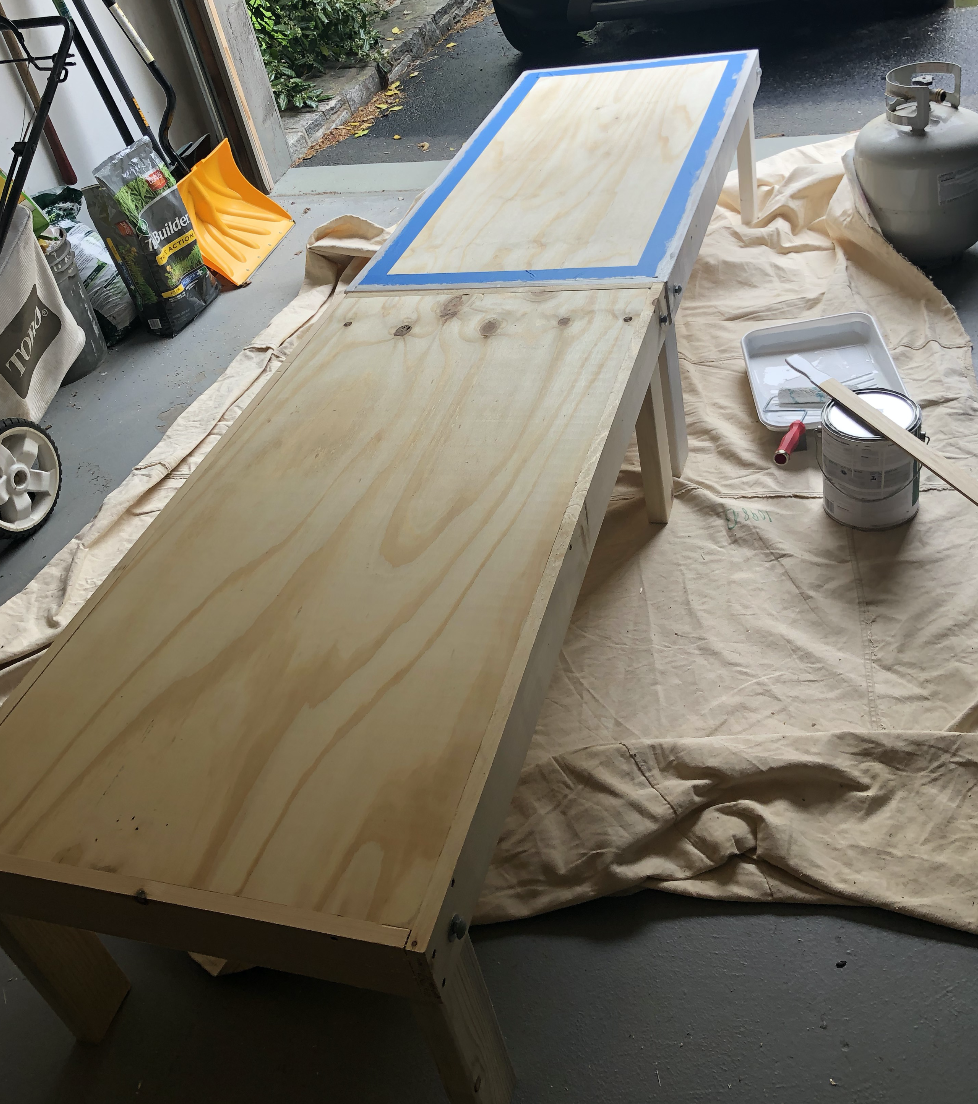
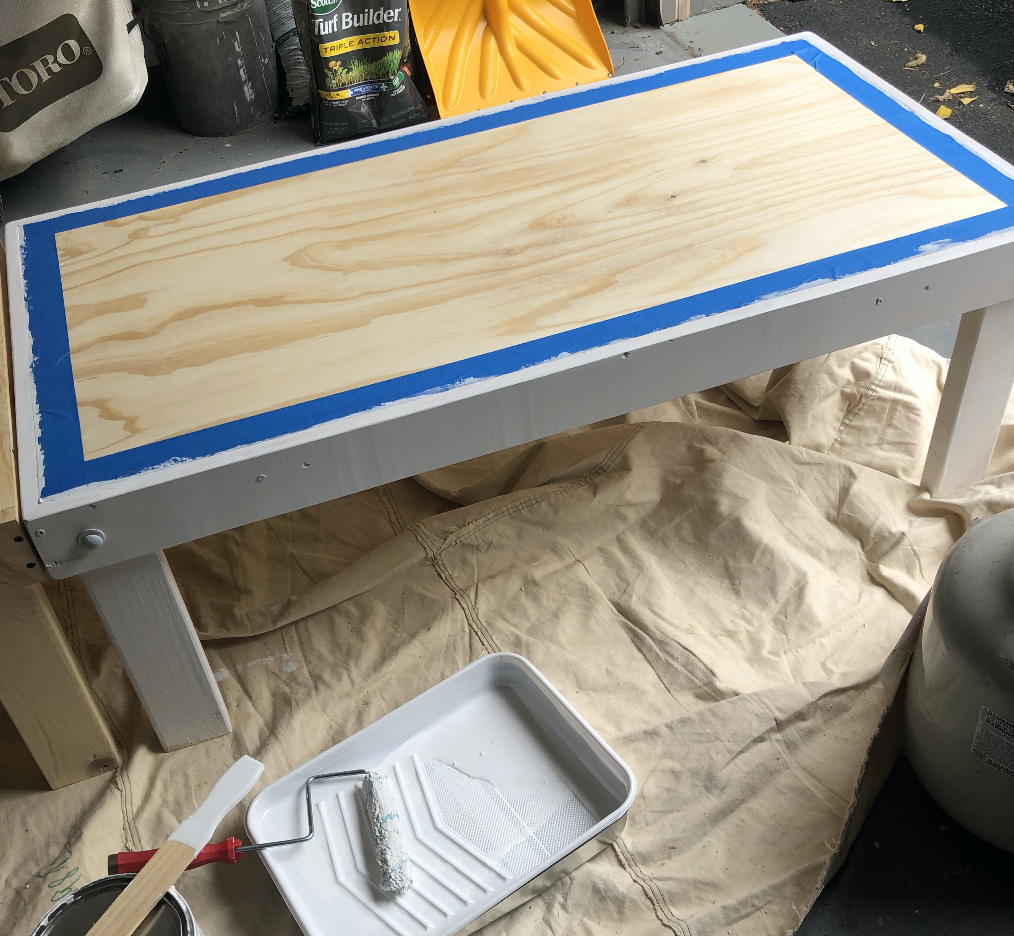
The final step for me was painting. If you really want to be fancy you can completely cover in the nail holes and sand it down but to be honest it didn’t bother me.. and I needed these done sooner than later. My dad had paint and painters tape. I decided I only wanted the legs and the border to be white and then the top to stay as is. My brother recommended putting a sealer on the top but I didn’t want to as I really loved the natural wood look.
And of course the finished project at the picnic!
